
Things I want to do
Apply a texture in Blender. (Apply an image to a 3D object.)
From what I’ve researched, the process, including UV unwrapping, seems complicated and intimidating.
However, for simple uses, it can be done quite easily, so I will explain how.
Environment
Blender:3.4.1
Apply a texture to one surface.
Prepare
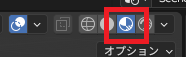
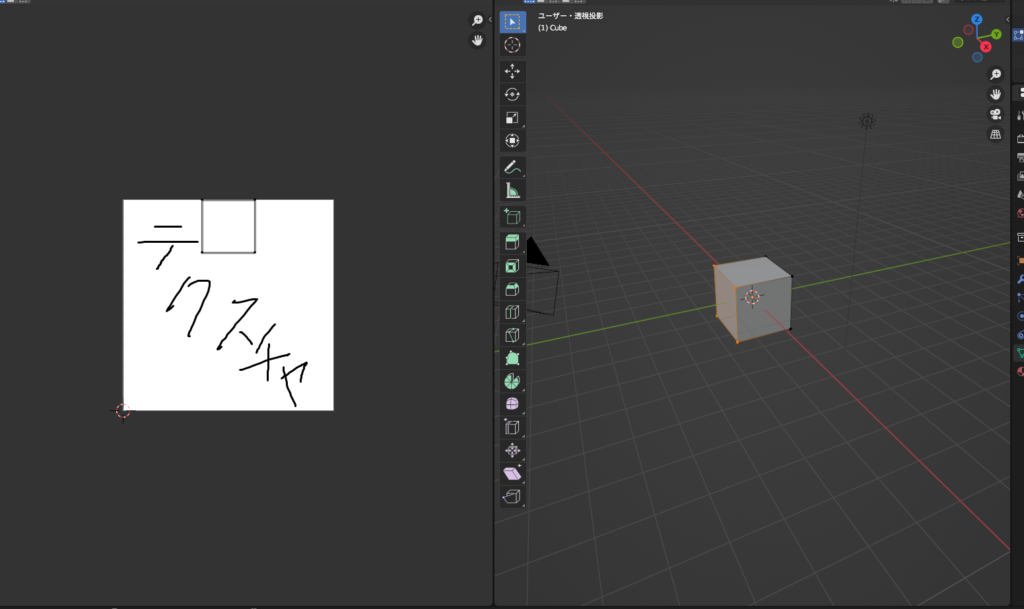
Set the shading in the 3D view to ‘Material Preview’.
(This is for checking the results; it is not required.)
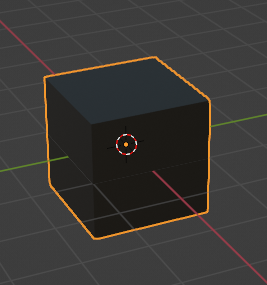
Apply the material to all faces except the one you want to apply the texture to.
This step is unnecessary if you have already configured it. (This time, I set it to black as shown below.)
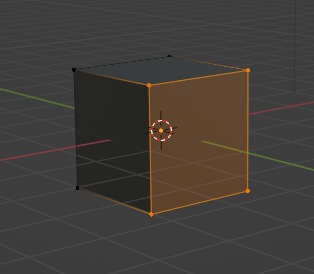
Face selection
Switch to edit mode and select only the faces to which you want to apply the texture.
Material settings
Create a new material in the material properties and assign it to the selected face.
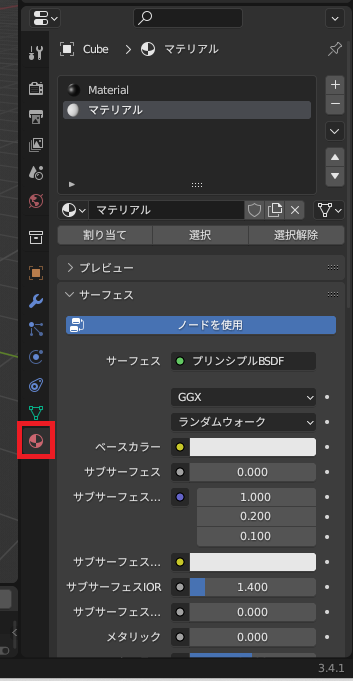
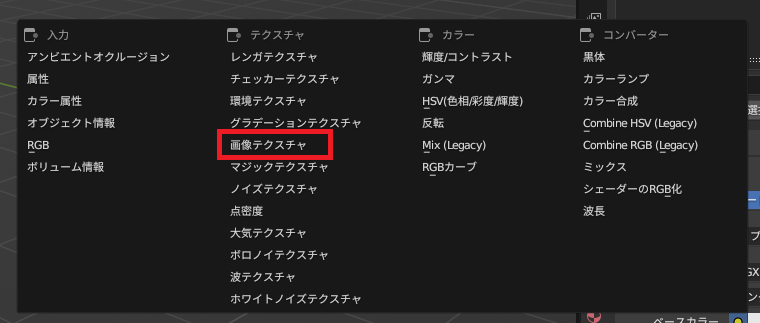
Click the yellow circle to the right of the base color of the material you created.

Select an image texture from the displayed GUI.
When you select an image texture, the following GUI will appear on the material properties. Click ‘Open’ and then open the image you want to paste.
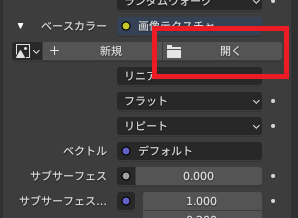
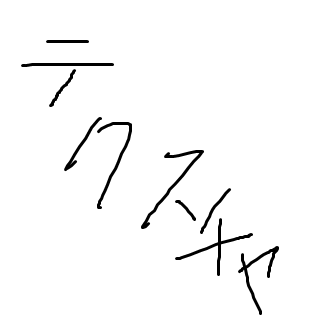
We will use the following ‘texture.png’ file here.
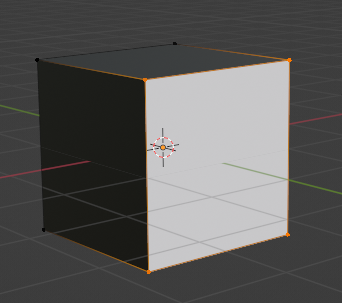
At this stage, the 3D model will display as shown below, and the intended image will not be shown. (It may be displayed by chance.)
UV editing
We will perform UV editing.
Click ‘UV Editing’ at the top of the screen to go to the UV editing screen.

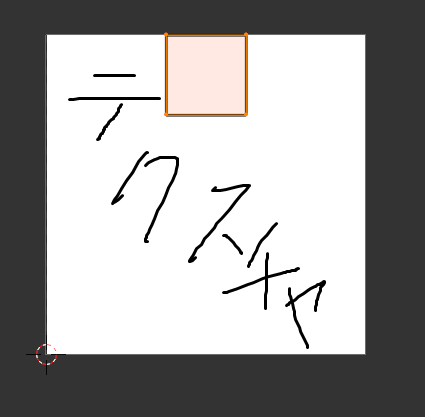
The following screen will appear, but we will only use the display on the left.
Use the selection tool to select the rectangle shown below.
You cannot select or edit the image.
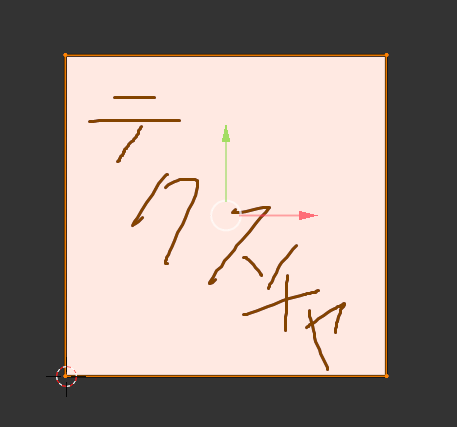
Use the zoom/move tool to fit the rectangle to the image.
Check the results
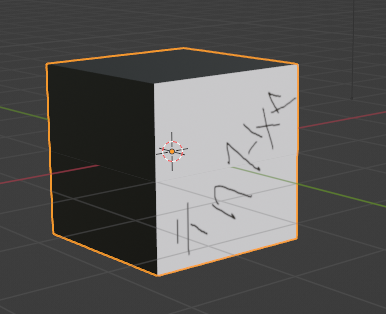
Returning to layout mode.

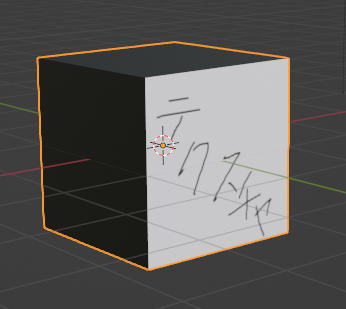
The texture (image) was applied as follows:
If necessary, adjust by rotating, moving, and rotating again using UV editing.
Since the rotation is of the cross-section and not the image, it needs to be rotated in the opposite direction to the apparent rotation.
In the example above, we will perform a rotation of -90 degrees (270 degrees) instead of 90 degrees.
Result
I was able to apply the image to the 3D object as shown below.
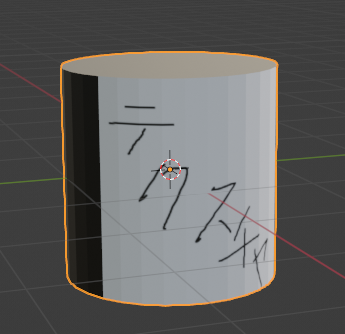
Adaptation to shapes other than cubes
The method described above can be used not only for cubes, but also for any rectangular surface to which a texture is applied.
It’s fine if there are multiple surfaces.
The following is an example adapted to a cylinder.
Websites I used as references
コメント