
Things I want to do
Create holes in the existing mesh.
Simple shapes can be made by extrusion, but I want to make a hole in a cylinder.
Environment
Blender:3.4.1
OS: Windows 11
Use modifiers
Use a modifier to make holes.
Prepare the mesh you want to create holes in and the mesh with the desired hole shape.
In this example, we will create a cylindrical hole in a cubic mesh.
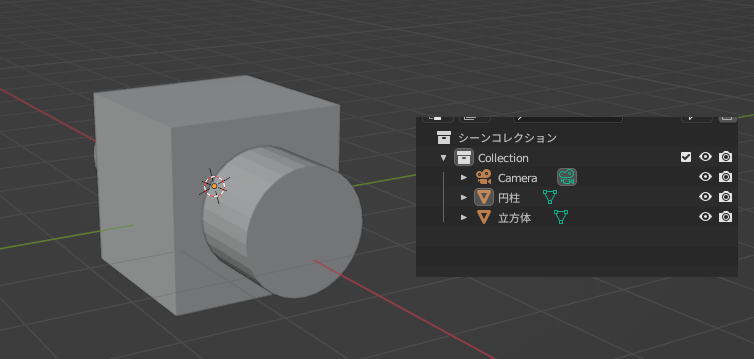
Switch to Object Mode and select the cube.
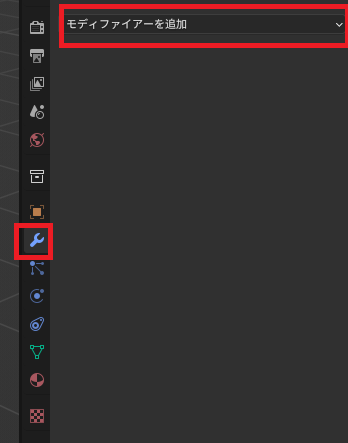
From the Modifier Properties tab, select ‘Add Modifier’.
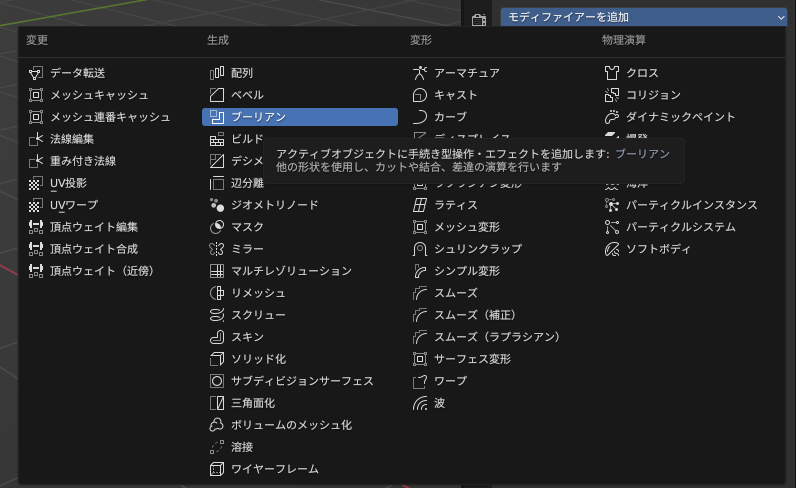
Select ‘Boolean’ from the displayed list.
Select ‘Difference’ and then select the mesh object (cylinder) with the shape you want to open up.

When I hid the mesh object (cylinder) that I wanted to create a hole in from the list, a hole appeared in the cube.
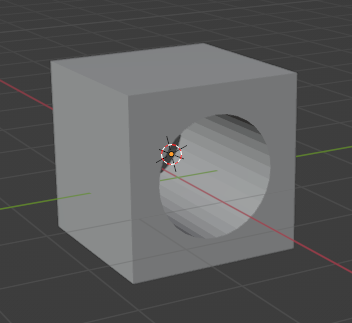
Be careful, because if you don’t hide the object, it will appear as if nothing is happening.
Convert to mesh
At this point, it might seem like you’ve created the desired mesh, but the mesh still doesn’t have any holes. The cube mesh doesn’t have any vertices related to holes, so you can’t adjust the holes from the cube object itself.
To apply holes to the mesh itself, the following steps are required:
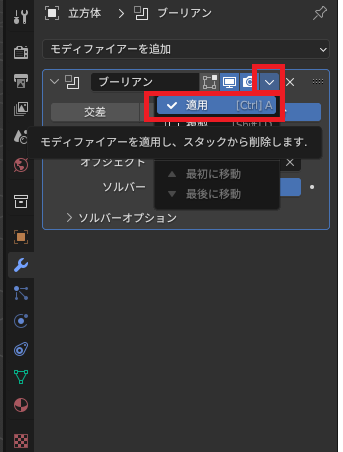
Click the down arrow next to the modifier you created, and then click ‘Apply’ from the menu that appears.
Result
A mesh with holes has been created.
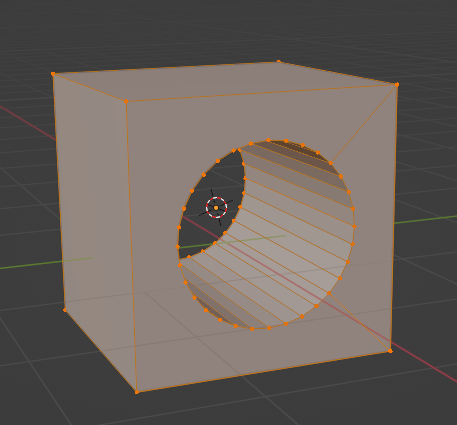
In this state, you can manipulate each vertex of the hole as a vertex of the cube object.
Other options
It might be possible if you put in the effort with extrusion and vertex manipulation.

コメント